How To Install A Windshield & Gasket On Your Classic Chevy
Last month we tackled taking out the windshield. This month we will attempt to properly install a gasket and windshield so that no leaks will occur. Installing it properly will assure you of a super sealed, weather tight windshield. You must be patient and generous with the sealer. This is one job you don't want to do twice.
If you are using your old window gasket, do a super cleaning job. Any old caulking, dirt, etc. will hinder the seal from fitting on the glass and the glass itself from fitting in the car. Any binding may cause the glass to crack.

Clean thoroughly all along the window frame. Watch your clips along the top as not to ruin them. Get all dirt and extra cirricular (leaves, excess rubber, etc.) out of the grooves along the top, bottom, and sides. Especially clean down in the corners; this is where glass will tend to bind and crack.

Run a bead of weatherstrip along the windshield frame. Place the bead right through the middle so when the windshield is placed in, it will push sealer out and around in an even spread.

If you are working with a brand new windshield, you'll need to "trim" the windshield along the border with a razor blade. Trim the edge so it is smooth as "glass" (excuse the pun).

Saturate the windshield rubber with a solvent, or mixture of oil and kerosene. Position the old (or new) windshield rubber onto the glass; the solvent will make the windshield rubber pliable enough to work with. If you should happen to be working with a broken seal, there are rubber compounds that can mend the rubber (check with your 3-M dealer).

Take a 1/4 inch nylon rope (clothesline will work), and work it in around the entire windshield with a screwdriver. Work it into the groove so that you end up with both ends of the rope in the middle of the windshield. Tape the ends up on the inside of the windshield for easy access once the windshield is in place. To keep the windshield rubber on the glass, you may want to tape the sides down too.

Run a bead of caulking around the outside of the seal and with a little help, place the windshield on the car. It starts to get a little messy now but don't worry about that; proper fit is critical here. Notice rope taped on inside- out of the way.

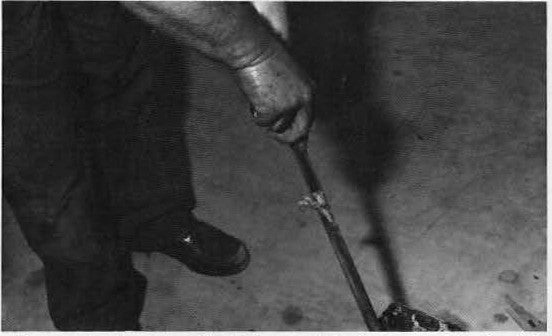
Here's the old "rope trick" in action. By pressing in on the windshield (from the outside) and pulling the rope towards you (from the inside). this will pull the seal out and place the windshield in its proper place. Go extremely slow and allow the outer lip of the weatherstrip to conform to the frame.

Here's another shot of the famous rope trick. Make sure you start at the bottom in the middle and work your way to both sides up and around the top.

Run a bead of caulking along the top of the weatherstrip. Mark either on the top of the car or down the windshield just where the clips are so you can apply pressure evenly when replacing top molding.

Squirt some caulking up under the windshield gasket to further seal it.

Before replacing side molding. run a bead of caulking down the inside underneath the door weatherstrip. This will help eliminate any water from seeping down behind the windshield.

After the side moldings are installed, go after the top molding by sliding the end in and laying it across the top, lining it up on both ends.

Using your fist (not a hammer!), strike the molding exactly where the clip is. The molding should pop right on. Do not force!

The bottom molding is easy. Line it up and screw it in. Note: Make sure you evaluate your own car before attempting this article. We are using a 1962 Impala Super Sport as an example; your 1958-1964 may vary as far as clips, moldings, etc.


After you have replaced all exterior moldings, interior moldings, and garnish screws, pop your cowling on and replace bolts. Take some mineral spirits and thoroughly clean up the big mess. By using squeegees, you can clean up excess caulking that lays in the weatherstrip. Take your time, this is where you will need to do some detailing.

Here's the classic "Before and After" shot. This little 1962's appearance was increased 100%. This is a neat article which will help you do it yourself. Both Bob and I knew we could do it, but called on professional help for the best job possible. This way we had 23 years of experience, neat little tricks of the trade, and the job done in less than two hours!! We would like to thank Terry from Bob' s Auto Glass for such a professional job. His understanding of our ignorance, and a fun afternoon of working on an old Chevy!
